Nectar CRM Integration
Learn how to set up OneClick Tracking on Nectar CRM.
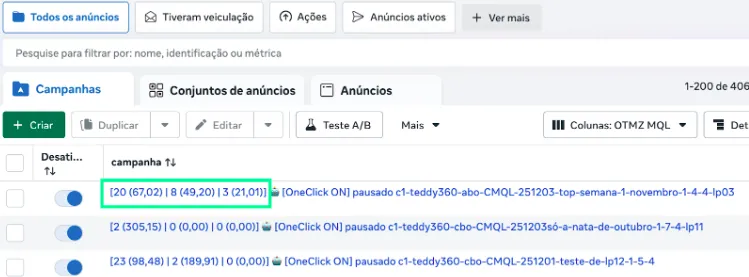
OneClick Tracking records as conversions the Nectar CRM opportunities that reach the funnel stages you choose, and ties each one to the Meta ad that brought the customer. Your campaigns’ CPA and ROAS then reflect your sales team’s real sales.
Before you start: UTMs in Nectar CRM
Section titled “Before you start: UTMs in Nectar CRM”For OneClick to know which ad each opportunity came from, the UTMs must be in opportunity custom fields with these names:
utm_sourceutm_mediumutm_campaignutm_contentutm_term
Create these fields in Nectar CRM and have your website form, or the tool that creates the opportunities, fill them in. An opportunity without UTMs stays in your Nectar CRM as usual, but it does not become a tracked conversion, because there is no ad to attribute it to.
How to Connect OneClick Tracking to Nectar CRM
Section titled “How to Connect OneClick Tracking to Nectar CRM”-
Log in to your OneClick Ads account.
-
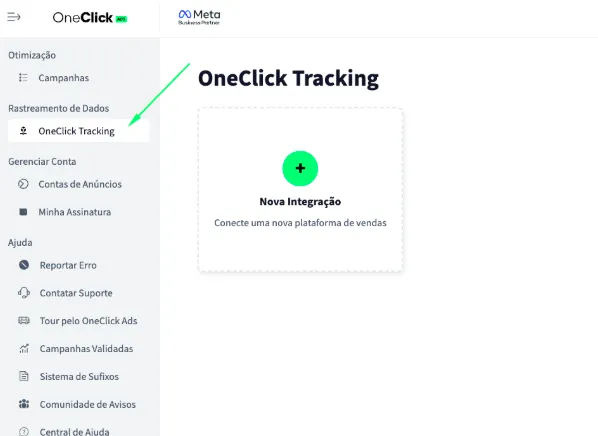
Go to the "OneClick Tracking" tab, available in the left sidebar of OneClick Ads.
-
Click "New Integration".
-
Select the "Lead Generation" product type and click Continue.
-
Select the "Nectar CRM" platform and click Continue.
-
Paste the Nectar CRM API token and click Connect. a. In Nectar CRM, open Configurações → Integrações (Settings → Integrations) and copy the API token.
-
Choose which stages count as a conversion. a. OneClick lists your account’s funnels and the stages of each. b. Tick the stages that are a real conversion for your business (for example, “Proposta” or “Fechamento”).
-
Copy the UTM Script generated in OneClick Tracking.
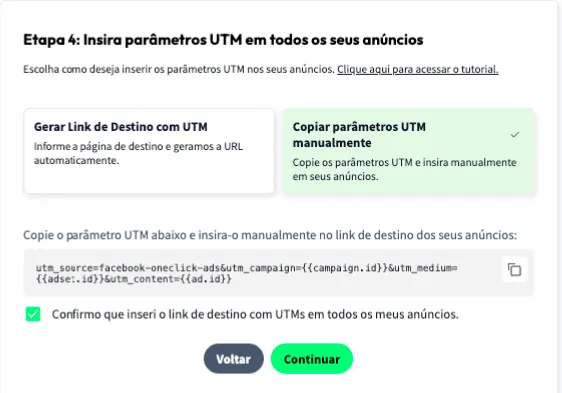
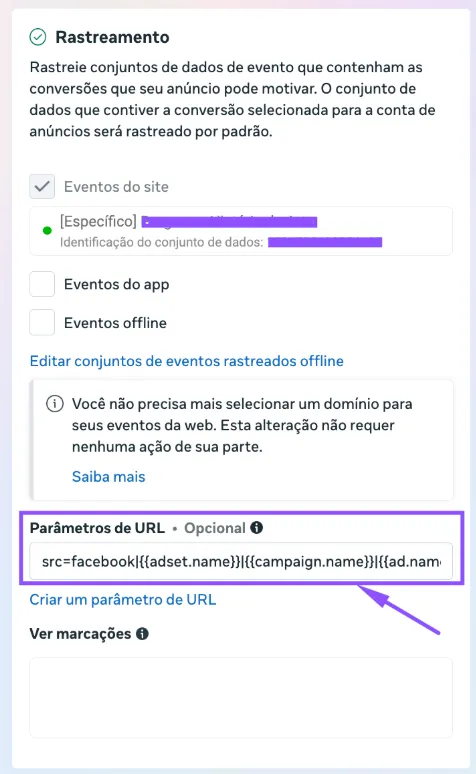
8.1. Paste it into the "URL parameters" field in ALL of your ads in Ads Manager, as shown below:
- Add the UTM Passthrough Script to all your sales pages, so the UTMs are automatically carried into the card of each lead generated. a. You can install it on your website via Google Tag Manager or, preferably, directly in your website's header.
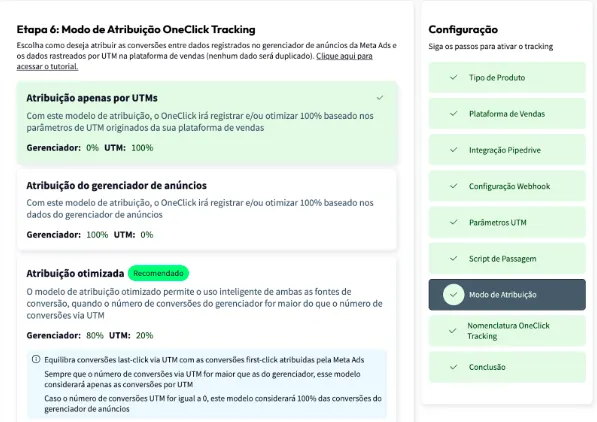
- Set the Attribution Mode.
- Watch this video to understand each model.
- Click Continue.
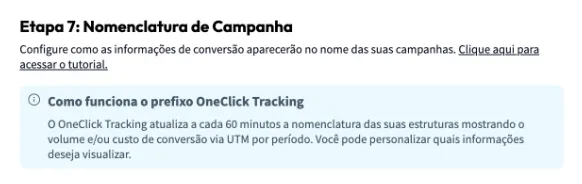
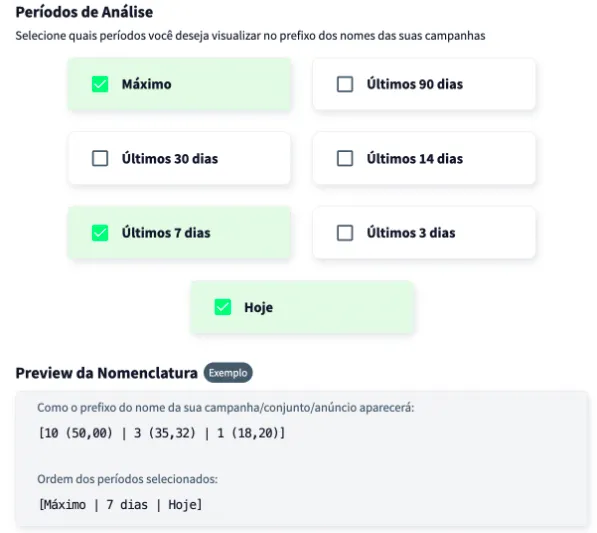
- Set the Naming Convention that your campaigns, ad sets and ads will receive in your Ads Manager and click next.
-
Copy the Webhook URL generated by OneClick and create, in Nectar CRM, the webhooks that send the opportunities:
11.1. Open Configurações → Integrações → Webhooks and click Adicionar (Add).
11.2. Name the webhook (for example, “OneClick Tracking - Update”), choose the opportunity event Atualizar (Update) and paste OneClick’s Webhook URL into the URL field. Save.
11.3. Repeat step 11.2 with the opportunity event Criar (Create), for example “OneClick Tracking - Create”, so an opportunity created directly in a chosen stage is sent too.
The webhook needs no authentication.
Important Notes
Section titled “Important Notes”- Each stage you chose counts once per opportunity: the same opportunity moved to the same stage again does not create a duplicate conversion. If you choose more than one stage, an opportunity that goes through all of them counts once in each.
- Lost or cancelled opportunities never count as conversions.
- The value recorded is the opportunity’s total value. Without it, the one-off value plus one month of the monthly value.
- If you change the token in Nectar CRM, reconnect the integration in OneClick with the new token.
Wait at least 24 hours for the setup to take effect, and all your campaigns (those that receive conversions) will start recording conversions right inside Ads Manager.